![]() NOTE Expiry dates apply only to completed Additional Forms. Completed forms are shown separately from in-progress forms in Auxita. Any Forms that were initiated and completed before this setting was configured will never expire.
NOTE Expiry dates apply only to completed Additional Forms. Completed forms are shown separately from in-progress forms in Auxita. Any Forms that were initiated and completed before this setting was configured will never expire.
For more information, check out: How to Complete an Additional Form
How to set or update an expiry date
- Open the patient’s profile.
-
Under Additional Forms, find the completed form in the Completed tab.
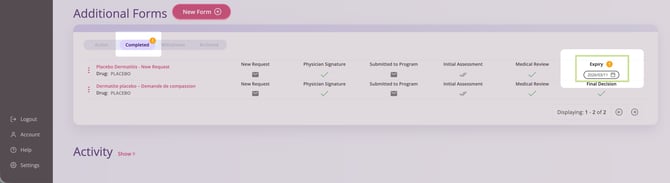
- In the Expiry column, click the date field.
- In the Set Expiry & Reminder window, choose the Expiry Date and Expiry Reminder timing.
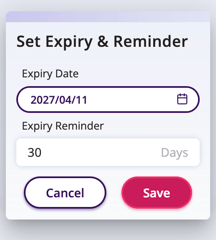
- Click Save to save your changes.
![]() NOTE Only users with permission to Create Additional Forms can change the expiry date or reminder period. Other users may still be able to view the expiry date.
NOTE Only users with permission to Create Additional Forms can change the expiry date or reminder period. Other users may still be able to view the expiry date.
Reminder notifications
As a form approaches or passes its expiry date, reminder indicators help users identify requests that need attention.
You will see:
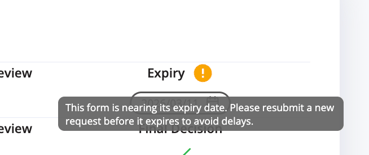
- a warning icon beside the Expiry column heading on the patient profile
- a tooltip message when hovering over the warning icon
- The form appears in the Reminders tile on the Home page if Show Reminders is enabled in settings.
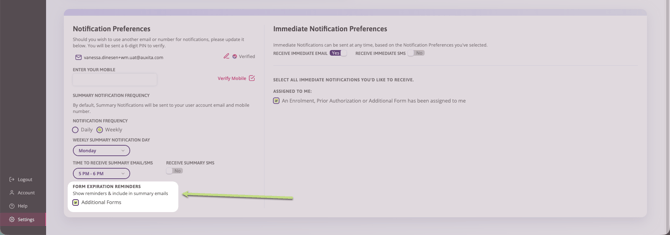
- The expiry is reflected in summary emails when these reminders are enabled.
![]() TIP Expiry reminders can also be viewed on the Home dashboard and in summary emails.
TIP Expiry reminders can also be viewed on the Home dashboard and in summary emails.
If a form has expired
If an Additional Form expires, create a new Additional Form based on your program’s workflow. How to Complete an Additional Form
After the new request has been created, archive the expired form to remove the warning from the patient profile. How to Delete or Archive an Additional Form
![]() NOTE If a form is Archived or Withdrawn, the expiry date is automatically removed and the form no longer appears in reminders.
NOTE If a form is Archived or Withdrawn, the expiry date is automatically removed and the form no longer appears in reminders.