Steps to Send Additional Documents
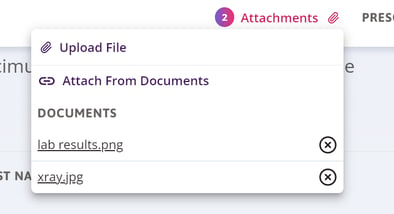
- Click Attachments at the top of the Enrolment Form.
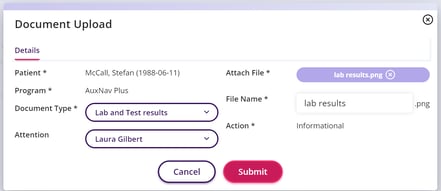
- Select Upload File to select a document from your computer. The document upload window will display.

- The Patient and Program will automatically populate based on the current Enrolment Form.
- Fill in the Document Type.
- The Attention field allows you to choose who you want to send the document to; however, this field is not a requirement.
- Click Browse to select the file on your computer to attach it.
- The File Name automatically populates based on the attachment name, but can be edited if desired.
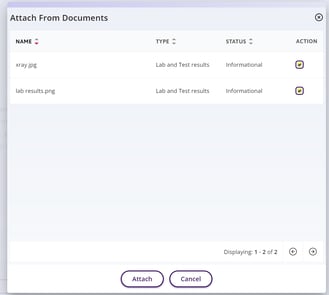
- Select Attach From Documents to select a document already uploaded to the Patient’s Profile.
- Select the checkbox next to each document you want to send with this Enrolment form and click Attach.
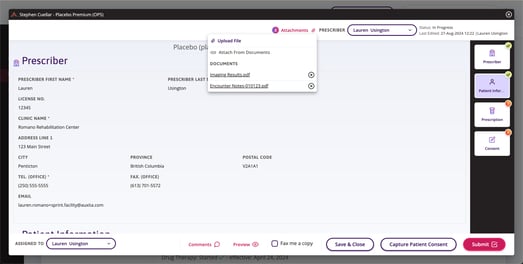
- The Attachments button indicates the number of attachments that have been selected. You can click the Attachments button to see which documents are attached.
- Upon submission to the program, all attachments are sent with the Enrolment form, and any newly attached documents are saved back to the Patient’s Profile.